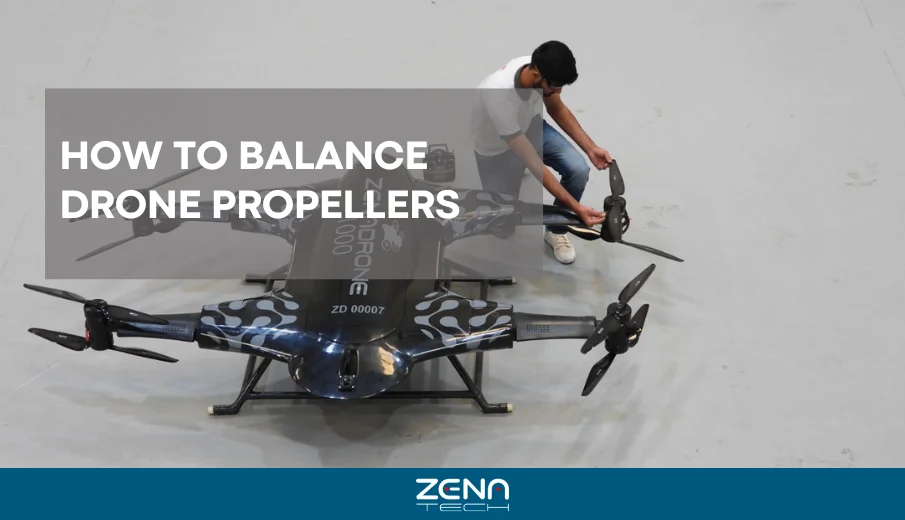
Have you ever taken your drone up for a flight and noticed it buzzing or shaking more than it should? The footage may look wobbly, like an old handheld camera, even though your drone is brand new. Most of the time, that isn’t a camera issue; it’s your propellers being out of balance.
Drone propellers might look like simple plastic blades, but they play a massive role in flight. When they’re slightly off balance, signs will manifest: shaky video, shorter flight time, and motors that wear down faster than they should.
The good news? Balancing propellers isn’t complicated and doesn’t take hours of work. The change is evident once you get the hang of the basics. Your drone feels steadier, smoother, and just easier to fly.
Doesn’t matter if you’re out goofing around with friends, racing for bragging rights, or trying to shoot clean footage for a project because balanced props make everything feel better. They’re really the base layer for a good flying experience.
Why Balancing Propellers Matters
Many beginners overlook prop balancing because the drone still flies, right? But just because it lifts off doesn’t mean it’s healthy. Balanced props directly affect performance.
The best way to picture it? Imagine running in sneakers where one sole is thicker than the other. Yes, you can still run, but it feels weird, your legs start aching quicker, and the whole run isn’t fun.
That’s basically what your drone goes through when the propellers are out of balance:
Reduced Vibrations
If you’ve ever seen shaky “jello effect” lines in your drone footage, that’s usually an imbalance issue. Smooth props are equal to smooth videos.
Longer Flight Time
Vibrations eat up battery life. Balanced props let your drone stay in the air longer on the same charge.
Protecting Your Motors
Let’s be real, drones aren’t cheap. If your props are out of balance, the motors work harder than they should. Over time, that extra strain wears your motors down faster. And when they go, you’re stuck paying for repairs or buying replacements way earlier than expected.
Stable Flying
You’ll notice the difference immediately when the props are balanced. The drone listens to you better, responds quicker, and doesn’t wobble around like it’s fighting the wind every second.
Types of Drone Propellers
Whatever props you fly, balancing belongs on your pre-flight checklist. It saves footage, motors, and headaches.
That said, not every propeller is made the same, and the type you use changes how often you must balance.
Here’s a quick rundown, starting with the ones you’ll see most often:
| Plastic Propellers | Probably the first kind most beginners use. They’re cheap, super light, and you can grab spares almost anywhere. However, the downside is that they bend or nick easily, so they go out of balance faster than tougher materials. |
| Carbon Fiber Propellers | These are the “serious pilot” options. They’re strong, stiff, and they look pretty sleek, too. But the catch is, even the tiniest imbalance shows up right away, so you’ll want to check them often to balance them. |
| Foldable Props | Super convenient for travel drones since they pack down small. The hinges, though, are weak spots where imbalance can creep in. |
| Fixed Propellers | No moving parts make them reliable and generally easier to keep balanced. |
| Multi-blade Propellers | Common on racing drones because they give more lift. More blades, however, also means more chances for imbalance. They bend easily, which makes them lose balance after just a few flights. |
Methods of Balancing Drone Propellers
There are two main ways to balance drone propellers. Both are useful. Pick the one that fits your gear and skills.
Static Balancing
Most pilots start here. Mount the prop on a balancer. Watch which side dips. That’s the heavy side. Add tape to the light side, or carefully sand the heavy side, until it sits level.
Think of it like fixing a puncture at home. It works. It won’t beat a complete shop job, and that’s fine.
Pros
Affordable. Easy to learn. No power or apps needed.
Cons
Takes patience. It’s not perfect, but it’s good enough for most flights.
Dynamic Balancing
Dynamic balancing is the next step up. You test the prop while it spins on the motor. A sensor or phone app reads vibration. You tweak and re-test until the numbers drop and the motor feels smooth.
If static is DIY, dynamic is a mechanic with precision gear: same goal, tighter tolerances.
Pros
Very accurate. Great for silky video, mapping, and pro work.
Cons
Needs special tools. Costs more. Setting up takes care and time.
Dynamic vs. Static: Which should you use?
Balancing keeps your drone from shaking like crazy and helps your footage look smoother. Now here’s the thing: Should you keep it simple with static, or go all out with dynamic? Let’s break it down:
Static Balancing
Static balancing is the “starter pack” way of balancing props. You stick your prop on a little balancer tool and check if one side dips lower than the other. If it does, sand it down or add a bit of tape until both blades are even.
Why it’s good:
- Cheap and easy.
- Great for beginners who want a smoother flight.
- Teaches you the basics of why balancing even matters.
The downside:
- It’s not super precise.
- You might still get those tiny vibrations that ruin the video.
- Takes some trial and error.
Who it’s for:
Pretty much beginners, weekend flyers, or anyone who wants their drone to fly decently without stressing over “cinematic smoothness.“
Dynamic Balancing
Now this one’s the upgrade. Think of it as the “pro mode” of balancing. Instead of eyeballing it while the prop sits still, you check the vibrations while the motor runs. It’s more work, but the payoff is crazy smooth footage.
Why it’s good:
- Way more accurate.
- Your footage ends up looking buttery smooth.
- Less wear and tear on your drone’s motors.
The catch:
- Costs more since you need the tools.
- It takes more time to learn.
Who it’s for:
The pros, the perfectionists, and anyone chasing that buttery, flawless footage.
Which one should you actually go with?
If you’re starting, go with static balancing. It’s cheap, easy, and does the job for casual flying. But dynamic balancing is worth the extra effort if you’re serious about aerial photography or obsessed with getting that silky-smooth video.
Step-by-Step: How to balance a propeller
Balancing isn’t just about making big fixes but more of those small, careful tweaks. It’s like trimming your nails; just a little here and there keeps everything clean and working right.
Here’s a simple process you can do at home.
| Inspect | Look for chips, cracks, bends, or warped tips. Yes, even tiny nicks matter. If the damage is evident, replace the prop. Don’t try to balance it. |
| Mount | Place the propeller onto your balancing tool or balancer. |
| Identify | See which blade tips downward. That’s the heavy side. |
| Fix | You’ve got two options: add tiny strips of clear tape to the lighter blade, or sand the heavier blade carefully until balance is achieved. |
| Test | Give the prop a light spin again. If it stays level without tilting, you’re good to go. |
Common Mistakes to Avoid
Over-sanding
Take it slow. Sand too much and you’ll ruin the propeller.
Skipping Inspection
Don’t balance a broken propeller. It’s unsafe and inefficient.
Reusing Damaged Propeller
If a propeller is cracked, toss it. A new one is cheaper than repairing a drone after a crash. Safety should always come first.
Tips for Maintaining Balanced
Propellers Balancing once isn’t enough; you’ll need to watch them over time. A balanced prop today means fewer headaches tomorrow:
Check Regularly
Props go out of balance after crashes, hard landings, or even just from wear and tear.
Store Carefully
Avoid tossing them into your bag. A protective case keeps them from warping.
Replace on Time
Don’t wait for a disaster. If a prop looks tired, swap it out.
Final Thoughts on Balancing Drone Propellers
Balanced props aren’t only about getting smoother video, though that’s a big win. They also help your motors last longer, stretch out your battery life, and make flying much more fun.
So next time you’re setting up for a flight, don’t just worry about charging the battery. Give those propellers a quick check, too. Your drone will thank you for it.
Making propeller balancing part of your routine saves you money and gives you cleaner footage. More importantly, it will make flying feel effortless.
At Zenatech, we design our drones with durable builds, innovative flight systems, and features that make maintenance easier. When the tech takes care of the little things, you can focus more on flying and capturing what matters most.
Friendly Asked Questions
How to balance a drone propeller?
Mount it on a balancer, identify the heavy side, then use tape or sanding until both sides match.
How much does it cost to balance a propeller?
A simple balancer can be found for under $20. Dynamic balancing gear usually costs more but offers greater accuracy.
How do you tell if a propeller is slipping?
You’ll notice odd vibrations, uneven motor noise, or unstable flight performance.
What are the two methods used for balancing a propeller?
Static balancing and dynamic balancing.
How to balance a two-blade propeller?
Mount it on a balancer, see which side tips, then correct using minor adjustments until both blades stay level.